
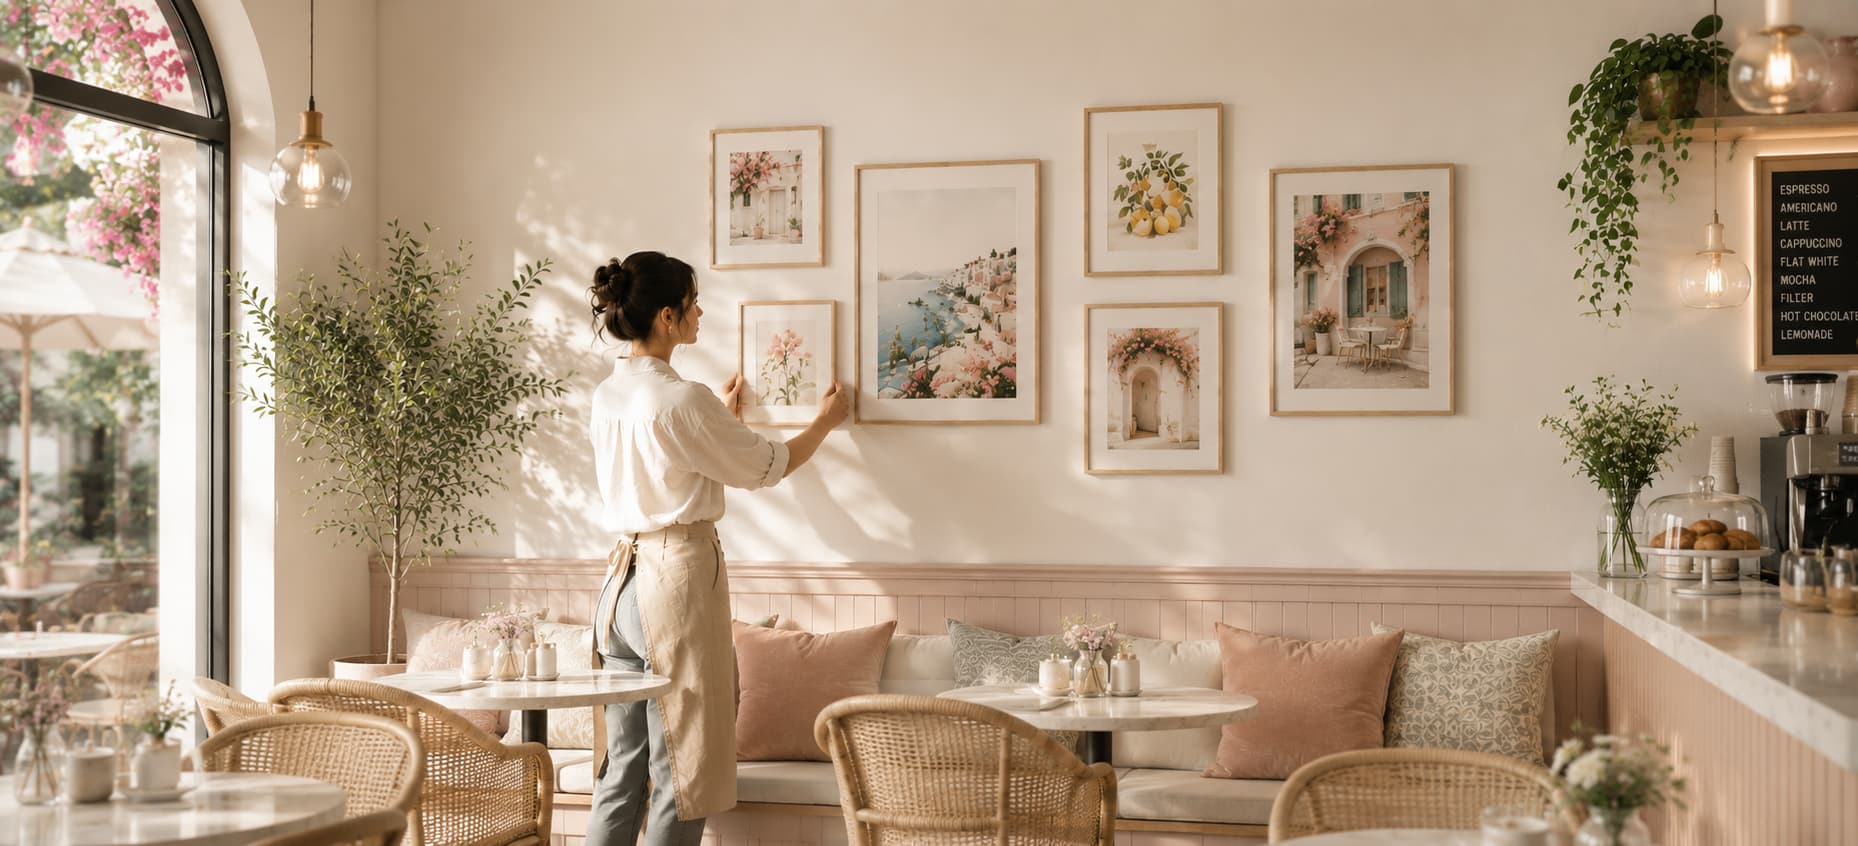
There is something quietly satisfying about watching a photograph or piece of artwork move from a flat sheet of paper into something that feels finished and permanent on a wall. Learning how to mount a print is not simply a technical skill. It is a small act of care toward an image that matters to you, whether it came from a family trip, a gallery purchase, or a print you commissioned yourself. Many people assume that achieving a polished, gallery quality result requires a professional framer and a hefty invoice. That assumption is understandable but not entirely true. With the right materials, a steady hand, and some patience, the process of mounting and framing can be done at home with results that hold their own against anything ready-made.
Choosing The Right Print for Mounting
Before any adhesive or board comes into play, the print itself needs a moment of consideration. Not every paper type behaves the same way once pressure or heat is applied, and this matters more than people expect. A thin, glossy photo print reacts differently than a heavier matte fine art sheet. Taking time here saves frustration later.
- Confirm the paper weight and finish before choosing an adhesive method
- Check whether the print is a limited edition, since some pieces should never be permanently mounted
- Consider whether the image came from Canvas Prints or a standard paper run, as this changes the approach entirely
- Inspect the print under natural light for creases or dust before beginning
Selecting Your Mounting Board
The board sits behind every successful mount, yet it rarely gets the attention it deserves. Foam board remains a favorite among hobbyists because it stays lightweight while offering enough rigidity to prevent warping over time. Acid free boards are worth the slightly higher cost, particularly for prints you intend to keep for decades.
- Foam board works well for most home projects and everyday photo prints
- Acid free or archival board protects fine art and limited-edition pieces from yellowing
- Gator board suits larger prints that need extra strength without added weight
- Thickness should generally sit between three sixteenths and half an inch depending on print size
How To Mount a Print Without Bubbles
This is the stage where most people either succeed quietly or end up frustrated. Air bubbles form when adhesive is applied unevenly or when the print is pressed down too quickly without smoothing from the center outward. Working slowly here pays off far more than working carefully everywhere else.
- Lay the print face down and apply adhesive spray or sheet evenly across the surface
- Position the print onto the board starting from one edge rather than the center
- Use a soft cloth or brayer to smooth outward in one direction, pushing air toward the edges
- Avoid pressing the middle first, since this traps air pockets that are difficult to remove afterward
- Let the piece rest under light, even weight for several hours before handling it further
This print mounting guide approach applies whether you are working with a small photograph or something closer to the poster scale.
Framing Considerations After Mounting
Once the print sits flat and secure on its board, attention turns to how to frame a print in a way that complements rather than distracts. Frame choice is personal, but a few practical points apply across most styles and rooms.
- Match the frame depth to the thickness of your mounted board plus any mat you plan to include
- Choose UV protective glass or acrylic glazing for prints that will hang in sunlit rooms
- Consider whether the piece works better with a mat border or a clean edge to edge look
- For photographic work, many people find that photo print framing benefits from a simple, understated frame rather than an ornate one
If your image was originally produced as an Acrylic Print, keep in mind that this medium usually does not need conventional framing. The acrylic panel itself serves as both the display surface and the protective barrier.
Common Mistakes to Avoid
Even careful hobbyists run into the same handful of problems repeatedly. Recognizing these ahead of time saves both money and disappointment.
- Using too much adhesive, which causes warping as it dries unevenly
- Skipping a test run on a spare sheet before working with the actual print
- Choosing a frame that overwhelms a delicate or minimalist image
- Ignoring humidity levels in the room where the piece will hang long term
- Ordering mismatched sizes when working with a wall cluster of several mounted prints together
When To Consider Professional Framing
Home mounting works beautifully for most everyday projects, though certain situations call for outside expertise. Oversized prints, valuable originals, or pieces going into a business setting often justify the extra investment. Professional framers also bring tools for precise image split layouts that are difficult to replicate without specialized cutting equipment.
- Large scale pieces, particularly those originating from Poster Printing, benefit from professional press mounting to avoid rippling
- Valuable or sentimental originals deserve archival handling beyond what most home setups offer
- Complex gallery walls with multiple framed prints often look more cohesive when spacing is planned professionally
- Pieces intended for resale or display in commercial spaces typically require custom framed prints built to gallery standards
A Final Thought
There is real pride in stepping back from a finished piece knowing your own hands guided it from flat print to finished wall art. The process teaches patience in a way that few other small projects do, and the result tends to outlast the effort required many times over. Whether you choose to handle every step yourself or hand certain pieces to a professional, what stays with you is the image itself, framed the way you intended it to be seen.


No Comments