
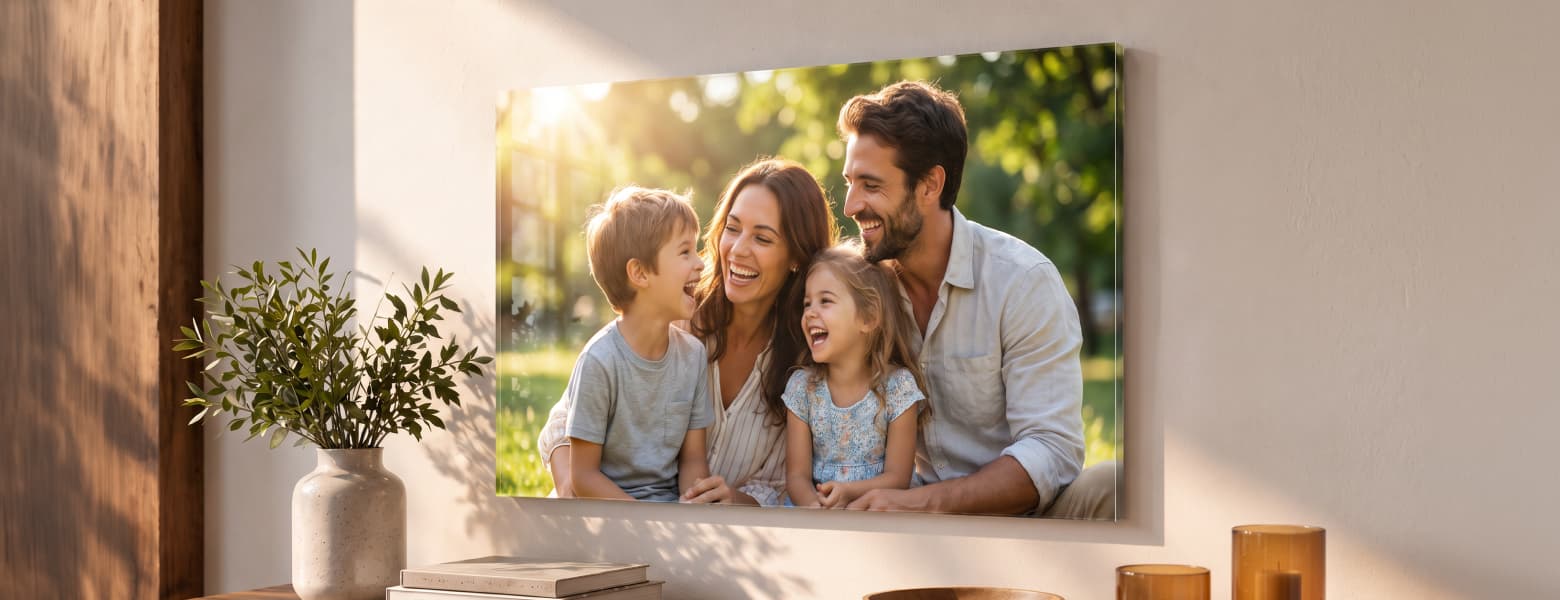
There is a moment every photographer or homeowner reaches when a favorite image deserves more than a frame. Maybe it is a wedding portrait, a landscape shot from a trip you still think about, or a family photo that captures something you never want to forget. When a picture matters that much, the way it gets printed matters too. That is where acrylic prints enter the conversation, and more specifically, where acrylic face mount prints change what a printed photograph can look like on a wall.
Acrylic face mounting has become one of the most requested finishes in professional photo printing, and once you see one in person, it is easy to understand why. The image seems to float beneath a sheet of glass-like clarity, colors appear deeper, and the whole piece feels less like a print and more like an object. But what actually happens between uploading a digital file and hanging a finished acrylic piece on your wall? Let us walk through it.
What Is an Acrylic Face Mount Print?
In simple terms, it is a photograph printed and then bonded directly to the back of a clear acrylic sheet, so the image is viewed through the acrylic rather than sitting behind glass or under a laminate.
This distinction matters more than it might seem. With traditional framing, glass sits in front of a print with a small air gap between the two surfaces. That gap can dull sharpness and introduce faint reflections. Acrylic face mounting eliminates the gap entirely. The print bonds directly to the material, which creates a seamless optical effect. Light passes through the acrylic and hits the image, giving colors a luminous quality that standard prints simply cannot replicate.
Many people who commission professional acrylic printing describe the result as having depth, almost as if the photograph has three-dimensional presence rather than lying flat against a surface.
How Does Acrylic Photo Mounting Work?
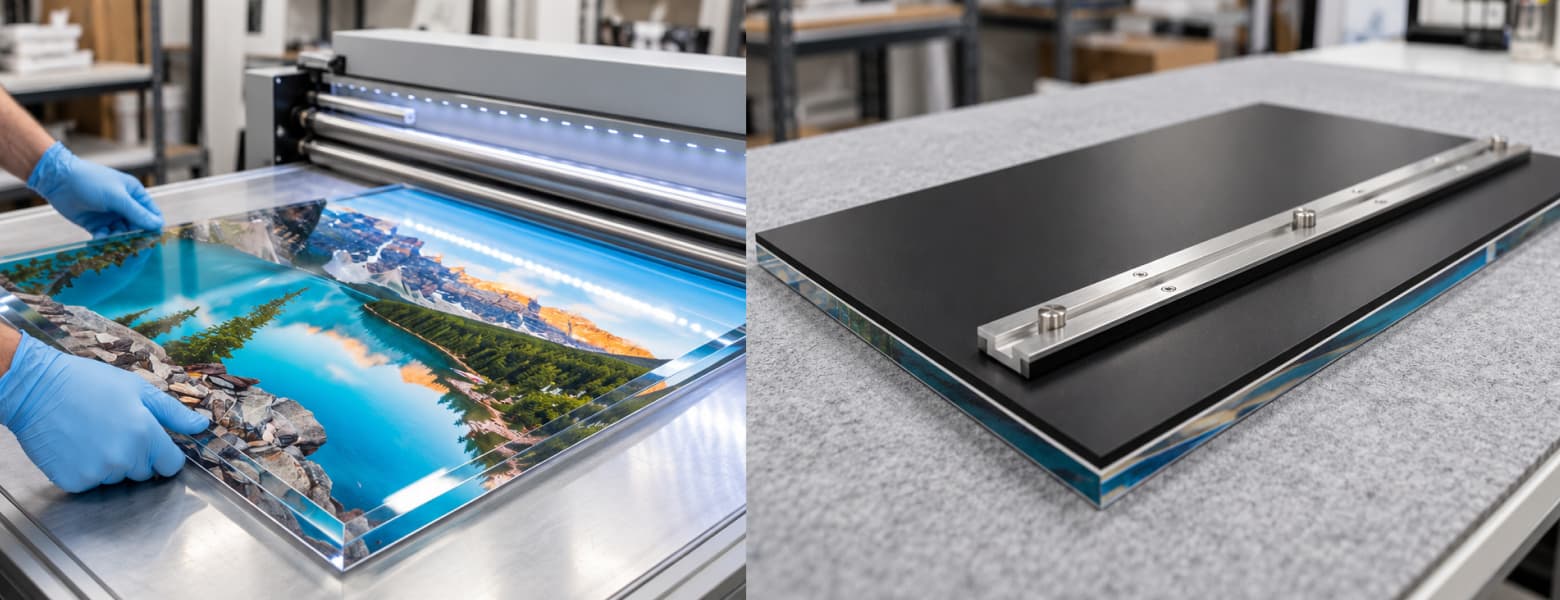
The process begins with a high-resolution print, usually produced on archival photographic paper, which is then permanently laminated to a sheet of optically clear acrylic using a pressure-sensitive adhesive designed specifically for this purpose.
The lamination step is where craftsmanship really shows. Any trapped air bubble, any misalignment, or any dust particle caught between the layers becomes permanently visible once bonded. For that reason, reputable print labs perform this work in controlled, clean environments using specialized presses that apply even pressure across the entire surface. Once bonded, a backing board, often Dibond or Gatorboard, is attached to the rear of the print for rigidity and to protect the delicate photographic layer.
The result is a single, solid panel. There is no separate frame required, though many people still choose one for a more traditional look. Standoffs, French cleats, or hanging brackets are typically used instead, giving the piece a modern, almost sculptural presence on the wall.
From Digital File to Finished Print: The Journey
Understanding the full production journey helps explain why acrylic face mounted prints carry a premium price compared to other formats, and why that investment tends to pay off in longevity and visual impact.
Step One: Image Selection and File Preparation
Everything starts with the digital file. A photograph with strong composition, good contrast, and sufficient resolution will translate beautifully to acrylic. Files that are too small, overly compressed, or heavily edited with visible artifacts will only have those flaws magnified once printed at scale.
Step Two: Color Calibration and Proofing
Before printing begins, labs calibrate their equipment against the specific paper and printer combination being used. This step ensures the colors on screen match what eventually appears in the physical print. Skipping calibration is one of the most common reasons a finished piece looks disappointing compared to the digital preview.
Step Three: Printing and Lamination
The image is printed using archival inks on photo-grade paper, then carefully aligned and bonded to the acrylic sheet. This stage requires precision equipment and experienced technicians, since even a slight misalignment becomes permanent.
Step Four: Trimming, Backing, and Finishing Edges
Once bonded, the panel is trimmed to its final dimensions, a backing board is attached, and the edges are polished or finished according to the customer’s specifications. Some prefer a clean, minimalist edge, while others opt for a beveled or frosted finish for added visual interest.
What Photos Are Best for Acrylic Printing?
Images with rich color, strong contrast, and clean detail tend to shine the most when mounted this way. Landscapes with vivid skies, portraits with well-defined skin tones, and architectural shots with sharp lines all translate exceptionally well.
That said, black and white photography also performs beautifully on acrylic. The glossy clarity of the material adds contrast and depth to monochrome images, giving shadows a richness that flat prints often lack.
Images with soft, low-contrast tones, or those captured in poor lighting, tend to be less flattering choices, since acrylic amplifies both strengths and weaknesses in a photograph.
How Durable Are Acrylic Mounted Photographs?
Extremely durable, which is one of the main reasons people choose this format for pieces meant to last decades. Acrylic mounted photographs resist moisture, UV fading, and everyday wear far better than traditional paper prints under glass.
Most professional labs use UV-protective coatings and archival inks, which significantly slow color degradation even in rooms with natural light exposure. Unlike canvas, acrylic will not warp, sag, or develop fine cracks over time. A well-made acrylic photo mounting should retain its clarity and color vibrancy for twenty years or longer with minimal maintenance beyond occasional gentle cleaning.
How to Choose the Right Acrylic Print Size
Room scale should guide this decision more than personal preference alone. A general rule involves measuring the wall space and selecting artwork that covers roughly sixty to seventy-five percent of the available area above furniture, such as a sofa or bed.
For smaller spaces, a single medium-sized piece often looks more intentional than an oversized print crammed into limited wall area. Larger rooms, particularly those with high ceilings, can support dramatic statement pieces that anchor the entire space.
Comparing Acrylic to Other Print Formats
If acrylic still feels uncertain, it helps to compare it against other popular options. Canvas Prints offer a textured, artistic feel that suits casual or rustic interiors, while acrylic leans modern and polished. Metal prints share some of acrylic’s vibrancy and durability but carry a cooler, more industrial aesthetic. For simpler, budget-conscious projects, Poster Printing remains a practical choice, though it lacks the longevity and visual depth acrylic provides.
Each format has its place, and the right choice ultimately depends on the room, the image, and the impression you want the piece to create.
Bringing It All Together
Acrylic face mounting transforms an ordinary digital photograph into a striking, gallery-quality piece of custom acrylic wall art. From careful file preparation to precision bonding and finishing, every step in the process exists to preserve the integrity and emotional weight of the original image.
If you have a photograph that deserves more than a simple frame, acrylic printing offers a finish that feels permanent, polished, and genuinely worth the investment. Choose your image thoughtfully, prepare the file properly, and trust the process. The result will speak for itself on your wall for years to come.



No Comments