
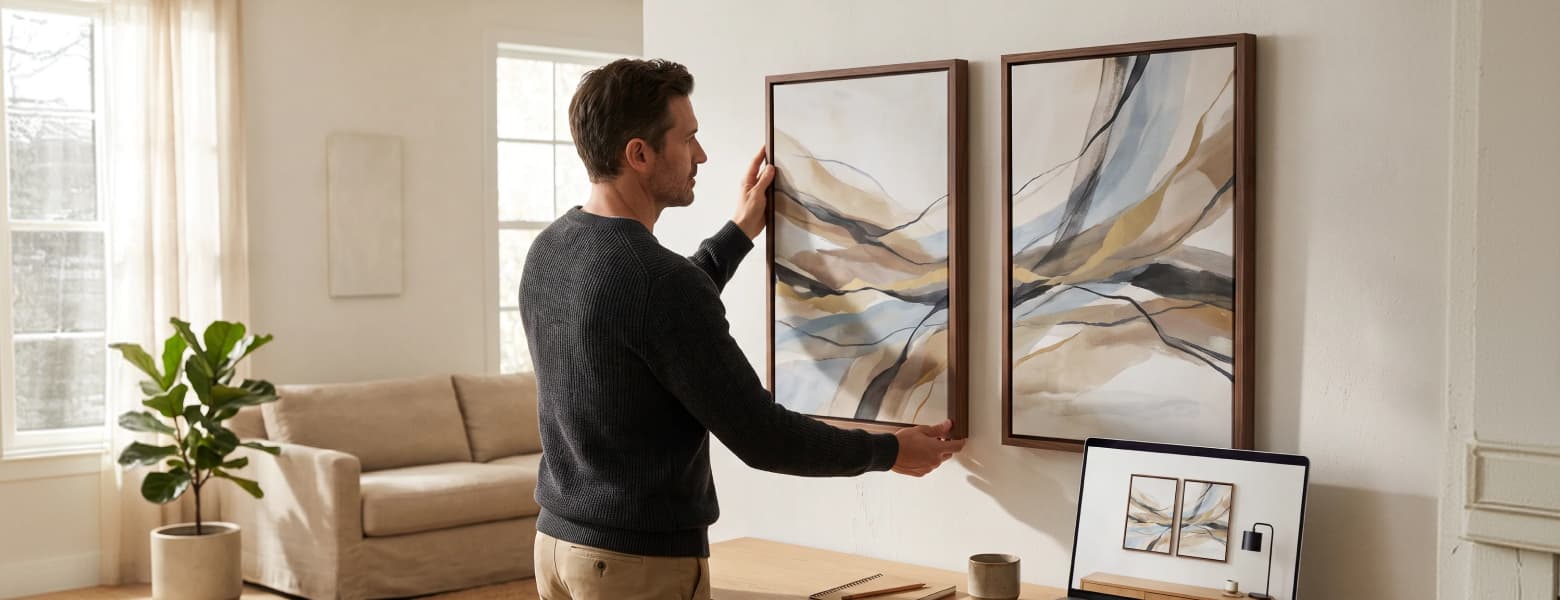
A single photo can fill an entire wall, but splitting it across multiple canvas panels can create a more dynamic focal point. Split canvas prints divide one image into two, three, four, or more sections, giving you a creative way to build wall art that feels balanced without looking like one oversized print.
Whether you are decorating a living room, refreshing a bedroom, creating artwork for a workspace, or preparing a visual display for a commercial environment, multi-panel artwork gives you flexibility over size, spacing, and layout.
The best part? You do not need advanced design skills to create one. With the right image, panel layout, print format, and hanging plan, you can turn a favorite photograph or original artwork into a coordinated wall display.
What Are Split Canvas Prints?
Split canvas prints are a form of multi-panel wall art where one image is divided into separate sections and printed on individual canvas panels. Once mounted on the wall with carefully planned spacing, the panels come together visually to recreate the complete image.
Unlike a traditional single canvas, this format creates intentional gaps between sections. Those spaces become part of the design, giving the artwork a contemporary, gallery-style appearance.
You can use this format for:
- Family and travel photographs
- Landscape and nature photography
- Abstract artwork
- Architectural images
- Brand photography
- Inspirational artwork
- Large wall displays
- Interior décor
The key is choosing an image that remains visually connected when separated into multiple sections.
Why Choose Split-Panel Photo Art?
A large image does not always need to be printed as one large piece. Split-panel photo art can make a wall feel more visually interesting while giving you greater control over the final arrangement.
Here are a few advantages:
| Benefit | Why It Matters |
| Flexible sizing | Create a larger visual display without one oversized panel. |
| Contemporary style | Panel spacing adds dimension and visual rhythm. |
| Custom layouts | Choose two, three, four, or more sections based on your wall. |
| Easy placement | Individual panels can be positioned around furniture and room features. |
| Strong focal point | One image becomes a coordinated statement piece. |
For example, a wide landscape can work beautifully as a three-panel arrangement, while a portrait-oriented photograph may suit two vertical panels.
If you want a different presentation style for your artwork, you can also consider Floats & Wraps for a more traditional or gallery-inspired display.
How to Create Split-Panel Photo Art
Wondering how to create split-panel photo art without complicated editing software? Start with the image, then plan the panel arrangement before you divide the file.
1. Choose the Right Image
Your image is the foundation of the entire design. Look for photographs with strong composition, sufficient resolution, and important details that will not be lost near the panel divisions.
Wide landscapes, cityscapes, family portraits, artwork, and photographs with clear focal points are often suitable choices.
Avoid images where a person’s face, text, or another important subject sits directly where a panel separation will occur.
2. Decide How Many Panels You Need
Think about the wall before choosing your format.
A simple guide:
- 2 panels: Best for smaller walls or symmetrical compositions
- 3 panels: A versatile choice for landscapes and wide images
- 4 panels: Suitable for larger walls and expansive artwork
- 5+ panels: Useful for statement installations and extra-wide displays
The number of sections should complement the available wall space rather than simply maximize the number of panels.
3. Split the Picture Carefully
If you want to make a split picture, the original image should first be prepared at the final intended proportions. Then, the image can be divided into equal or intentionally varied sections.
To split picture into pieces, consider both the image composition and the final panel dimensions. Equal panels generally create a clean, symmetrical appearance. Unequal panels can create a more editorial or artistic arrangement, but they require more planning.
Keep important visual elements away from the cut lines whenever possible.
4. Plan the Print Panels
Once your image is divided, each section becomes an individual print panel. Review every panel separately before ordering.
Check:
- Image resolution
- Panel dimensions
- Orientation
- Cropping
- Text or important subjects
- Image alignment between panels
- Desired spacing
A good rule is to view the complete layout before sending individual files for printing. This helps you catch alignment issues that may not be obvious when looking at each file separately.
How to Prepare a Photo for Multi-Panel Printing
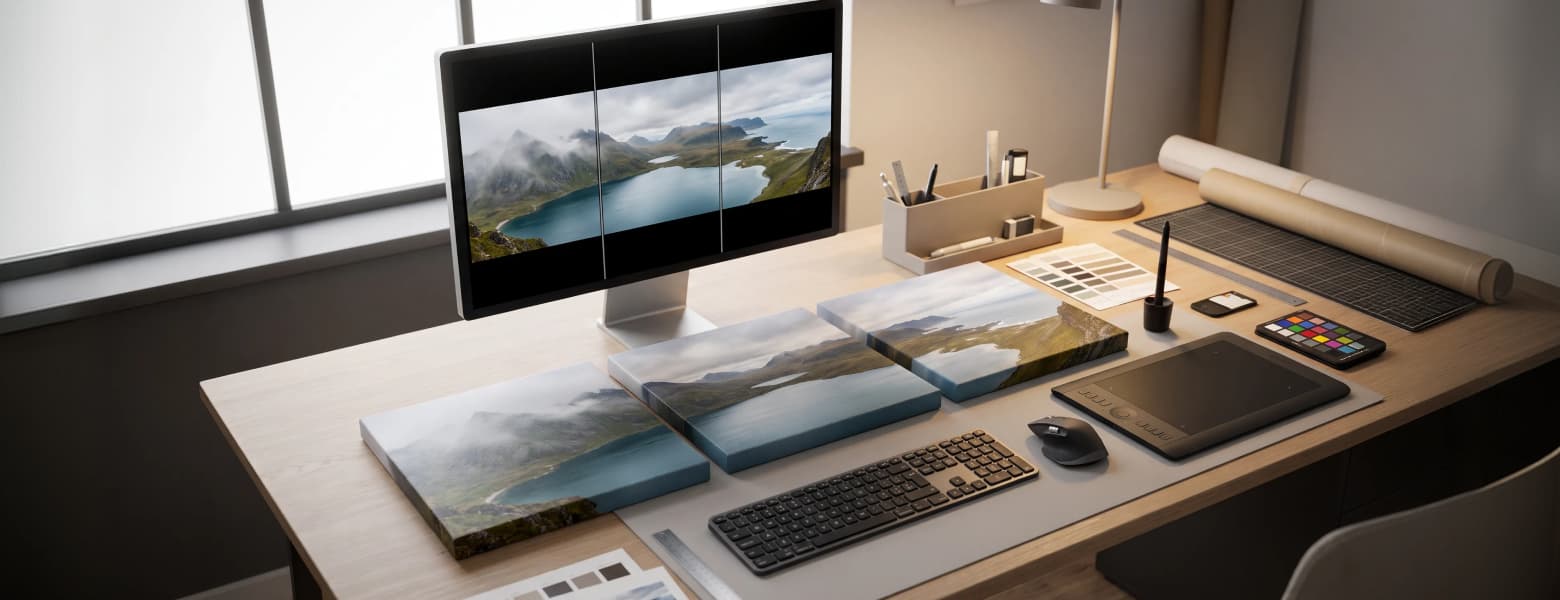
Your file preparation can affect how the finished artwork looks. Start with the highest-quality version of your image available.
For photographs, avoid repeatedly saving and compressing the file because excessive compression can reduce image quality. For artwork, export a high-resolution version suitable for the final print dimensions.
Think about the complete wall display rather than each individual section. The panels should look intentional both separately and when viewed together.
If you are creating a smaller display or want a different print surface, Economy Posters can provide another option for presenting photographic or graphic artwork.
Choosing the Right Layout for Your Wall
There is no single correct way to arrange separated panels. Your wall dimensions, furniture, image orientation, and personal style should guide the layout.
Three-Panel Layout
A three-panel arrangement is one of the easiest formats to balance. It works especially well above sofas, beds, consoles, and long tables.
Keep the panels aligned horizontally when you want a clean, structured appearance. For a more artistic effect, you can experiment with slight vertical variations.
Four-Panel Layout
Four panels give you more flexibility for large walls. You can arrange them in one horizontal row, two rows of two, or a staggered configuration.
This format works particularly well when the image has enough detail to remain recognizable across multiple sections.
Asymmetrical Layout
If you want something less conventional, vary the panel widths or introduce controlled differences in placement. This approach works well with abstract artwork, modern photography, and creative interiors.
The important part is maintaining visual balance even when the arrangement is intentionally irregular.
How to Hang Multiple Canvas Panels
Knowing how to hang multiple canvas panels is just as important as preparing the artwork. Even a beautifully printed image can look uneven if the panels are poorly aligned.
Before drilling or mounting anything, lay the panels on the floor and test the arrangement.
Follow these steps:
- Measure the entire display area.
- Mark the center point of the wall.
- Position the middle panel first if using an even layout.
- Measure the intended gap between each panel.
- Mark the mounting points carefully.
- Check horizontal and vertical alignment.
- Mount the remaining panels.
- Step back and review the complete arrangement.
For a cohesive appearance, keep the gaps consistent. A small difference between panels can become noticeable once the artwork is mounted.
How Much Space Should You Leave Between Panels?
The ideal gap depends on the size of the artwork and the wall. Smaller panels generally need smaller gaps, while larger installations can support wider spacing.
Instead of choosing a gap based only on a fixed measurement, consider the overall proportions. You want enough space to clearly separate each panel without making the image feel disconnected.
Before mounting, use painter’s tape to mark each panel’s approximate position. This gives you a chance to adjust the layout without putting unnecessary holes in the wall.
Multi-Panel Canvas Prints: Common Mistakes to Avoid
Creating multi-panel canvas prints is straightforward, but a few mistakes can affect the final result.
Choosing a Low-Resolution Image
A small image may look acceptable on your screen but lose detail when enlarged. Always start with the highest-resolution file available.
Cutting Through Important Details
Do not place a panel division directly through a face, logo, text, or other important focal point unless the effect is intentional.
Ignoring the Wall Size
A panel arrangement that works beautifully on a large wall may overwhelm a smaller space. Measure first and choose your dimensions accordingly.
Using Uneven Spacing
Inconsistent gaps can make the installation appear accidental. Mark the positions before mounting.
Forgetting the Viewing Distance
Consider where people will see the artwork from. A large installation intended for a spacious room needs different proportions from artwork designed for a narrow hallway.
How to Create Multi-Panel Wall Art That Feels Cohesive
The goal of how to create multi-panel wall art is not simply to divide an image. It is to make the individual sections feel like parts of one intentional composition.
Keep these principles in mind:
- Choose one strong, visually connected image.
- Maintain consistent panel proportions where appropriate.
- Keep important subjects away from cut lines.
- Use balanced spacing.
- Match the artwork size to the wall.
- Consider the furniture beneath or around the display.
- Preview the complete arrangement before installation.
For a more traditional photo presentation, Acrylic Prints can offer a distinct visual direction when you want a polished alternative to canvas.
What Can You Print on Each Panel?
A print panel photo can feature almost any image that suits your intended display. Personal photography is a popular choice, but you can also use artwork, illustrations, landscapes, architectural photography, or branded imagery.
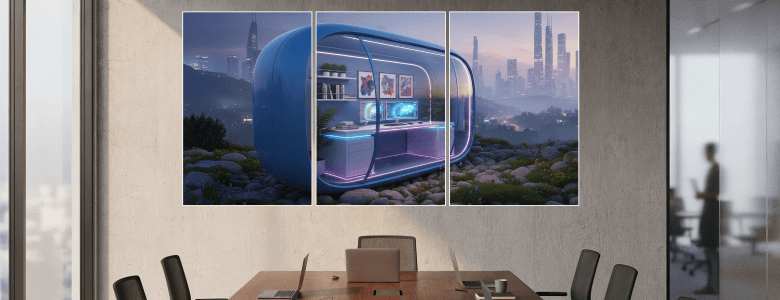
For professional spaces, coordinated panels can communicate a visual theme across reception areas, offices, hospitality spaces, studios, and retail environments. For homes, the same approach can turn personal photographs into a cohesive wall feature.
If you prefer paper-based artwork rather than canvas, Poster Printing can also be considered for certain multi-piece displays.
Frequently Asked Questions
What is the best image for split canvas prints?
Wide photographs with strong composition and enough resolution usually work well. Landscapes, cityscapes, architecture, family photographs, and artwork are popular choices.
Can I split one photo into multiple canvas panels?
Yes. A single image can be divided into multiple sections and printed individually. The number of panels should depend on your image composition and available wall space.
How do you split a picture into three parts?
Resize or crop the original image to the desired overall proportions, then divide it into three sections while keeping important visual elements away from the separation points.
How far apart should canvas panels be?
The spacing should be consistent and proportional to the artwork. Test the arrangement with temporary wall markings before mounting to determine what looks balanced in your space.
Can split canvas panels have different sizes?
Yes. Equal-sized panels create a structured look, while different sizes can create a more creative arrangement. However, varied dimensions require careful planning to maintain visual balance.
Turn One Image Into a Complete Wall Display
A single photograph can become much more than a traditional wall print when you divide it across multiple panels. With the right image, thoughtful cropping, suitable panel dimensions, and precise spacing, you can create wall art that feels intentional from every angle.
Start by choosing an image that deserves attention. Decide how many sections suit your wall, prepare each panel carefully, and plan the installation before you pick up your mounting tools.
Once the design is ready, your favorite photograph can move from a digital file to a coordinated canvas display made specifically for your space.


No Comments